

How To Curve Words In Google Drawing
Tabular array on contents:
- Intro
- Working with Text in Google Slides
- How to Wrap Text in Google Slides
- How to Outline Text in Google Slides
- How to Make Text Boxes in Google Docs
- How to Make Text Curve in Google Slides
- How to Rotate Text in Google Docs
- Working with Images in Google Docs
- How to Put Picture backside Text in Google Slides
- How to Add together a Caption to a Photo in Google Docs
- How to Flip an Image in Google Docs
- How to Make an Image Background in Google Docs
- Transparent Groundwork in Google Slides
- Google Slides vs. PowerPoint
- Premium and Free Google Slides Presentations
- Determination
Intro
We live in an astonishing time. The world is irresolute quickly, and by 2025, the digital universe will abound tenfold. There will exist more than diverse content, and it volition exist more hard for our overloaded brains to perceive it. To cope with such a constant influx of information, you need to learn how to structure and present it correctly.
Google Slides are a free service for presenting your ideas in the course of presentations to colleagues, potential customers, and partners. The service allows you to use a variety of themes, fonts, add videos, animation effects, and other expressive ways.
Sometimes information technology is difficult to primary a dandy presentation pattern because it requires the coordination of many elements, including colors, fonts, images, icons, and backgrounds. Inserting media files and tables may non ever be equally hard as working with the text on a slide.
When nosotros start using Google Slides service, a lot of questions ascend: "How exercise you bring an prototype to the front end in Google Docs?", "How practise you change text color in Google Slides?", "How do you change transparency in Google Slides?", "How do you wrap text around a table in Google Docs?", and much more. And then it is time to fill your noesis gaps. Let's check out some tips and recommendations on how to work with text in Google Slides, and how to wrap text in Google Slides in particular.
Are you eager to learn more than about how to create remarkable presentations in Google Slides? See our ultimate guide.
Working with Text in Google Slides
How to Wrap Text in Google Slides
- In one case y'all decide what paradigm y'all desire to come across on the slide, experience free to add together it at that place. You volition meet it correct on the center of your slide.
- Now yous can alter the size and position of the text box and paradigm to wrap text in Google Slides.
Source
How to Outline Text in Google Slides
If y'all are bored with plainly text, you are welcome to utilise the WordArt tool to experiment with the text a scrap.
- Navigate to "Insert" menu and cull "Discussion fine art" option from the drop-down list.
- In a dialogue window that opens, insert your text. Use Shift + Enter to add together multiple lines.
- Click Enter to save.
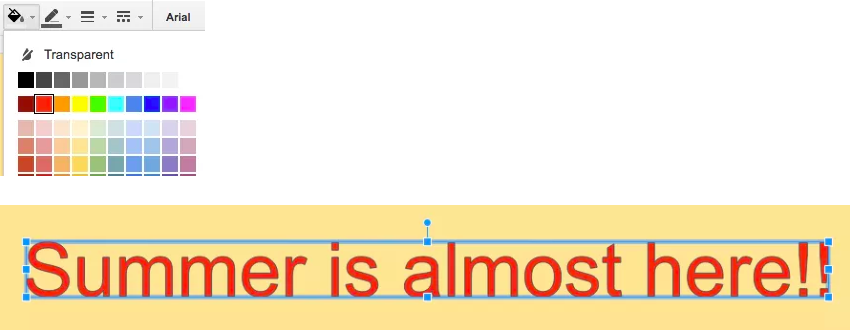
Now you can play with the color of the text, outline, line thickness, and add dotted lines.
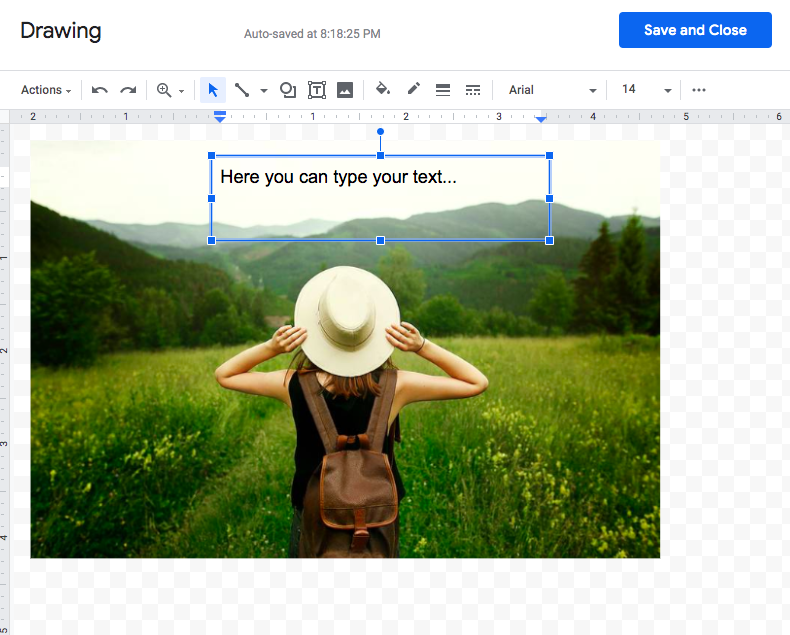
How to Make Text Boxes in Google Docs
Google Docs allows you lot to add text boxes to your document with no hassle. This is a great solution when you lot desire to focus a viewer'south attention on some particular information expanse. Alternatively, information technology volition be rather user-friendly to movement your text within the certificate.

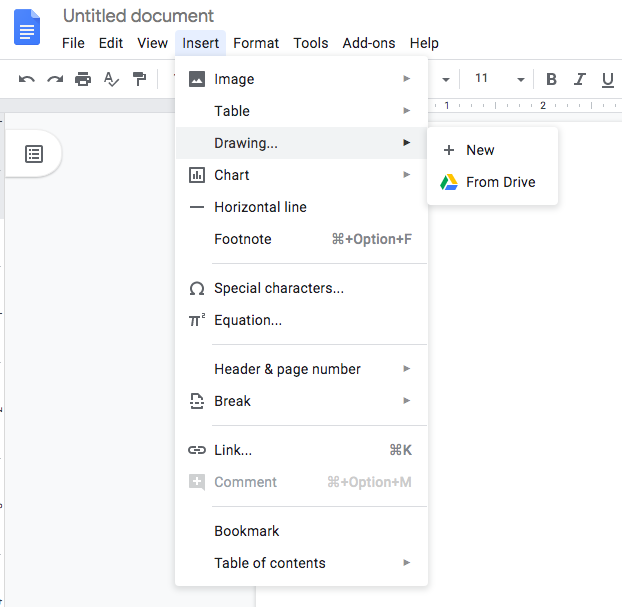
- Go to "Insert" menu and choose "Drawing" to become a Drawing dialogue window to announced.
- Use the Text Box command.
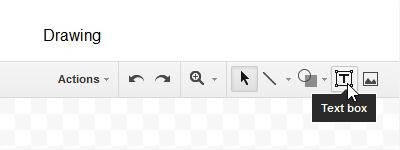
- Elevate information technology to the drawing area to get a text box.
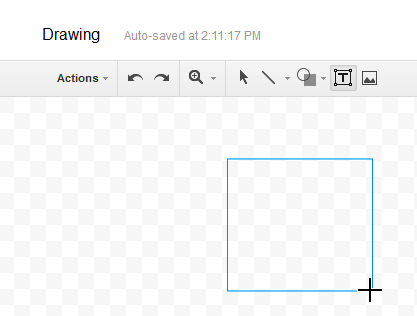
- Add your text to the text box which appeared after you lot released the mouse.
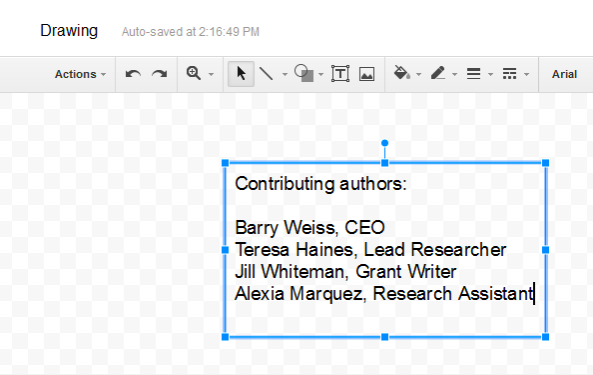
- Do not forget to click Relieve & Close when you finish.
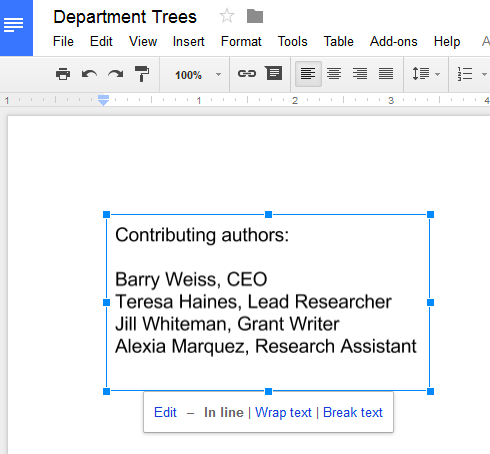
- For formatting, click the formatting command displayed below and adjust the text box to your preferences.
How to delete the text box in Google Slides: click inside the text box, and and so click on its border. Navigate to the "Edit" carte du jour and choose Delete.
How to Make Text Curve in Google Slides
To brand your content more attractive, you can use not only images and diverse lines, but too curve text in Google Docs.
- Cull "Drawing" from the "Insert" menu.
- Click the arrow to the right of the "Line Tool" icon, so select "Curve".
- Make a curve to your liking.
- In one case information technology is fix, click Save & Close. The curve will appear in your certificate.
- Click the bend epitome in the certificate and add your text around the curve in the editing text box.
How to Rotate Text in Google Docs (Google Sheets only)
There are a few ways that you can rotate the text inside a cell of Google sheets. This is preferable when yous want to fit more text into one prison cell, or y'all have a long name in the header.
One of the simplest workarounds is:
- Click "Format" carte.
- Choose "Text orientation"
To get a vertical orientation:
- Select the text you are working on.
- Insert this formula instead of the text in a jail cell:
=ARRAYFORMULA(CONCATENATE((MID( "Text to go vertical", ROW(INDIRECT("YY1:YY"&LEN( "Text to become vertical" ))), 1)&CHAR(x)))) - Insert your text you are rotating between the quotation marks (Text to get vertical).
- Press Enter.
To change the rotation caste of text in a cell:
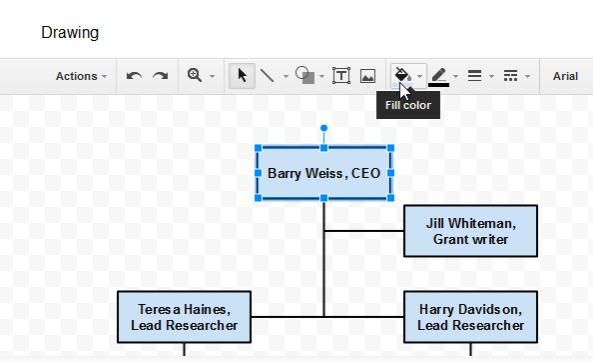
- Copy the text you lot wish to rotate.
- Go to the "Insert" menu and choose "Cartoon".
- Select the text box icon and draw your text box.
- Paste the text you want to rotate into the text box.
- Hover your mouse over the tiptop of the text box and expect until you meet a plus sign "+." This symbol means that you are ready to rotate.
- When you are satisfied with the upshot, click Salvage & Close.
- Now y'all can move and play with your drawing the way you want.
Ok, let'south summarize and compare how to wrap text in Google Slides and PowerPoint.
| Google Slides | PowerPoint | |
| How to wrap text |
|
|
| How to outline text |
|
|
| How to make text boxes |
|
|
| How to curve text |
|
|
| How to rotate text | One of the simplest workarounds is:
|
|
Well, both applications can boast of their ain advantages and disadvantages. Choose your winner based on your expectations and needs.
Working with Images in Google Docs
How to How to Put Picture behind Text in Google Slides
Photography, as a base layer for text, is used not only in web design. This technique is popular both in impress design and spider web media. But look effectually: the text on top of the image gives expressiveness and an emotional hook for the consumer. On the web you will detect many examples and discussions on how to enhance the impact of text with photography. I am sure you take been thinking about how to move images in Google Docs. Let's get further and check out how to put text over a picture in Google Docs.
How to put a pic behind text in Google Slides:
- Go to "Insert" carte.
- Choose "Drawing" from the drop-downwardly carte.
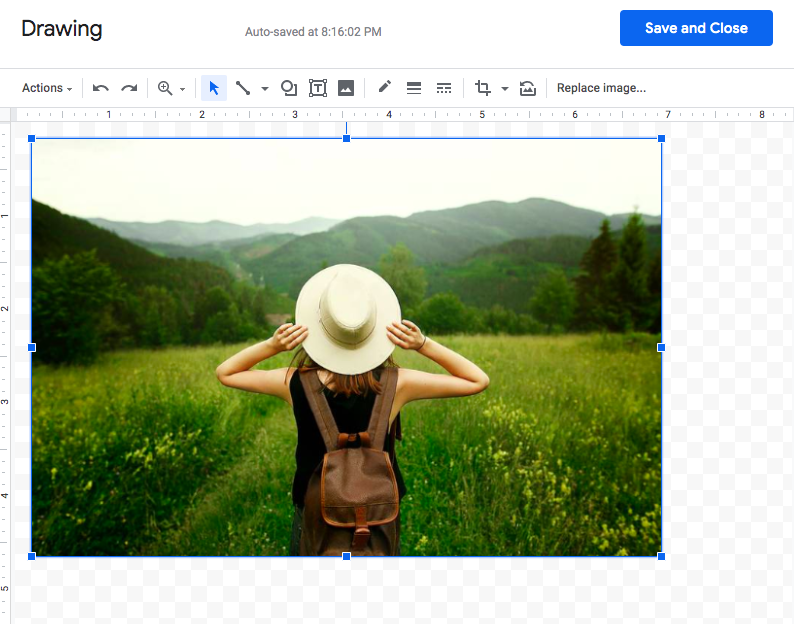
- Browse an image or only paste it (Ctrl/Cmd V) in the drawing application.
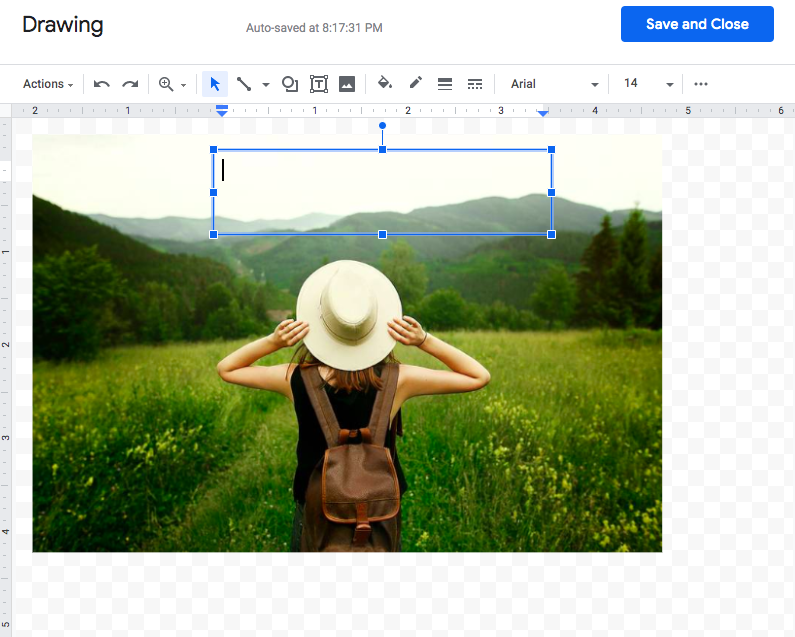
- Select the Text tool and drag the text box to wherever you want it over the image and resize it if needed.
- Type in the text you want to add.
- Do non forget to click the Salve & Close button to save the result.
If you lot are curious about how to relieve a ready image from Google Slides, you should just right-click the moving picture and cull the Relieve to Keep option. The paradigm will be saved in your Google information. After that, right-click the saved image and choose Save Image as.
How to Add a Explanation to a Photo in Google Docs
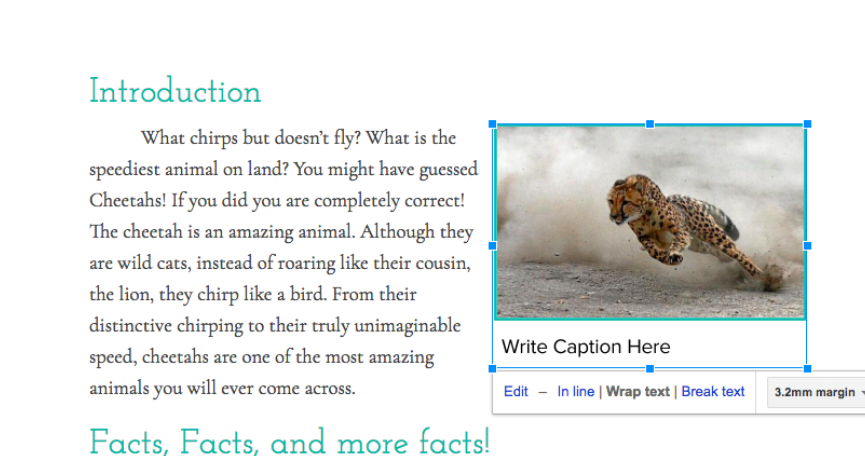
- Place the cursor of the mouse at the place you lot want to see your photo.
- Go to the "Insert" menu and choose "Cartoon".
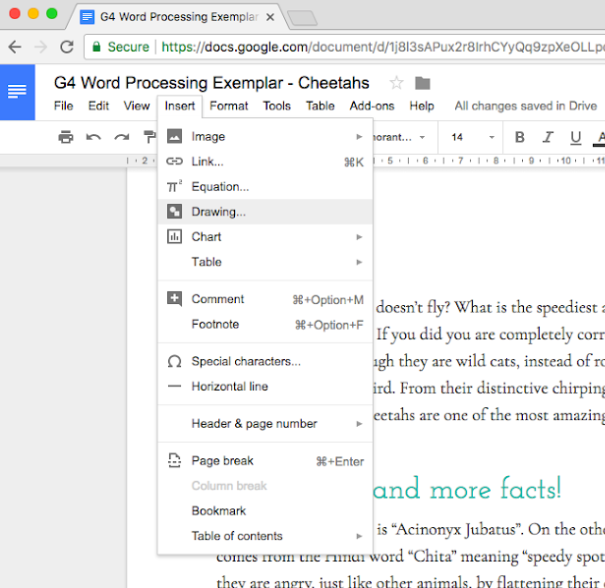
- Either paste the prototype you have copied or browse for the one you want to see in your document.
- Click "Add together a text box" icon to add your caption to the image.
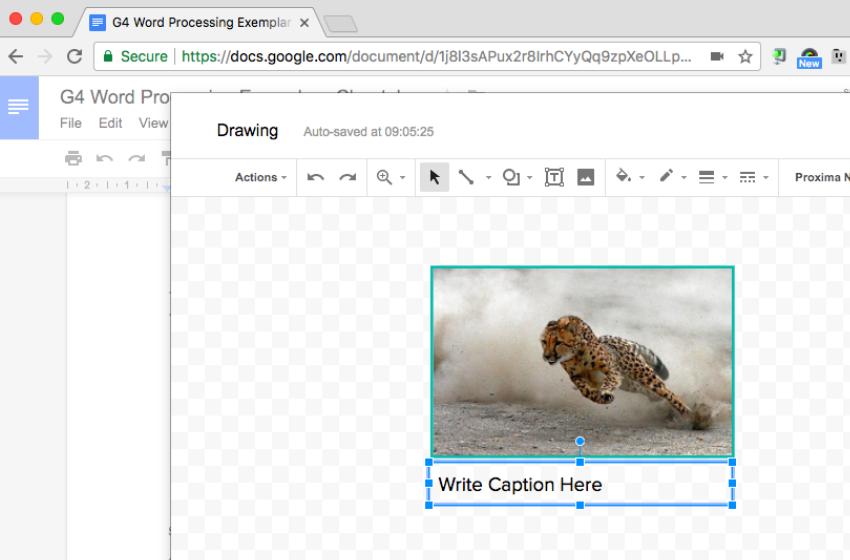
- Format the text to your liking.
- Click Save & Close when yous finish formatting.
- Observe the result in your document.
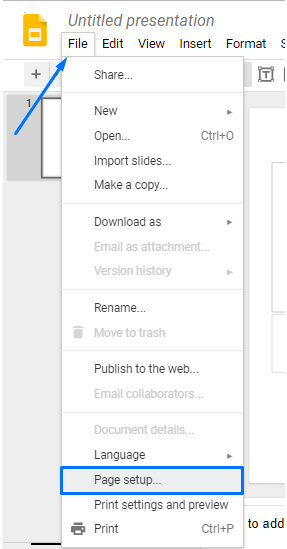
If the Google slide size does not piece of work for you, information technology is possible to change it easily.
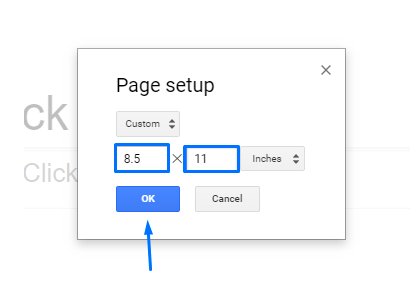
Go to the "File" bill of fare and click "Page Setup". Cull the size needed and click OK. Now you know how to change the size of a Google slide.
How to Flip an Image in Google Docs
You will not find a specific rotation tool in Google Docs, so you will need to use the cartoon application to prepare the image before you insert it into your document or spreadsheet.
- Proceed to the "Insert" carte and choose "Cartoon."

- Click the "Image" push button on the toolbar and choose whether yous desire to upload, take a snapshot, search by URL, etc.
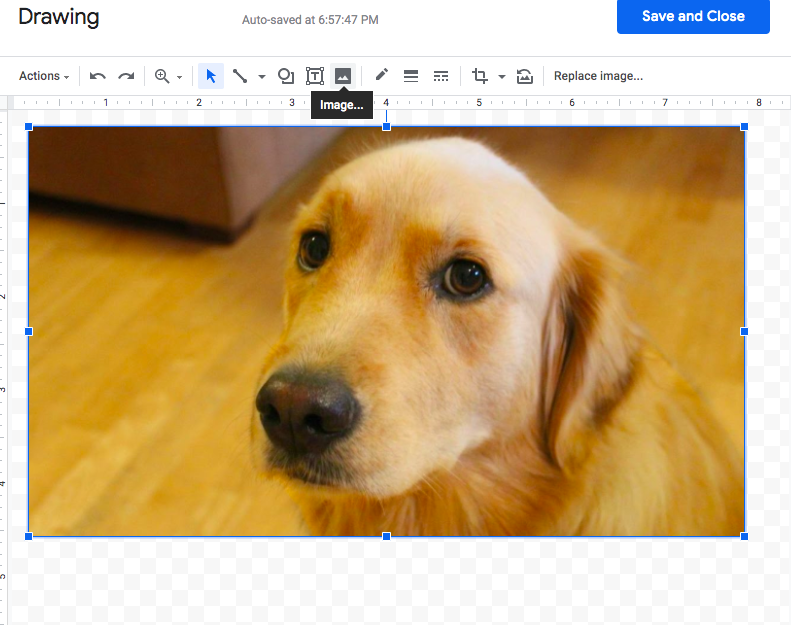
- Click the mouse over the edge of the image and concur it. Move the mouse to flip the image.
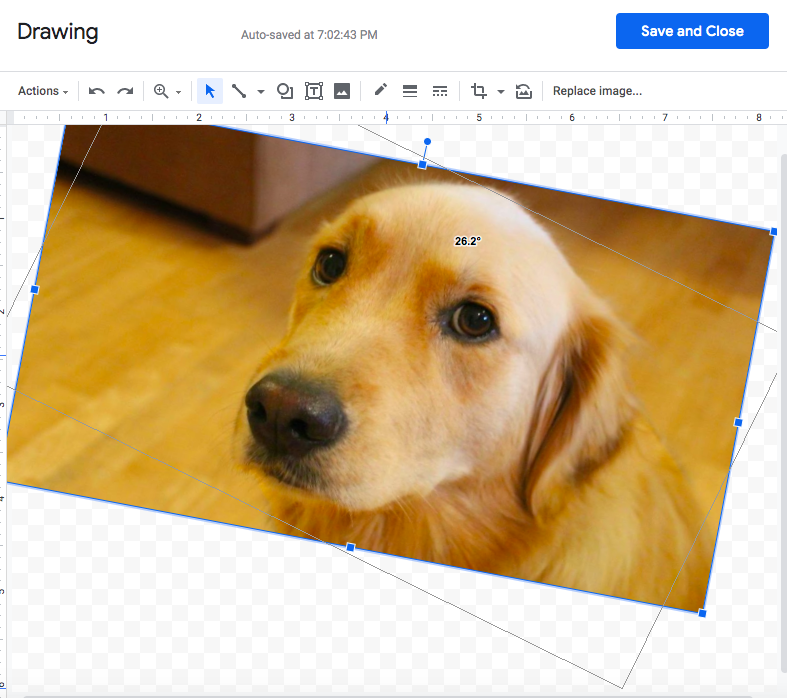
- Once you are satisfied with the rotation event of your picture, you tin can release the mouse. Click Save & Close to salvage the result.
How to Brand an Prototype Background in Google Docs
The ability to set the groundwork image for a document is a kind of magic wand, the cardinal to creating a truly impressive design. Using groundwork images, you tin can significantly change the advent of the page, as well as set the desired tone and mood.
Follow these simple steps on how to brand an prototype be a background in Google Docs:
- Open Google slides after you login to your Google account.
- Pull up a new presentation with the help of "Blank" selection.
- Click the "File" bill of fare and navigate to Page Setup option.
- Choose "Custom" and set the folio to your preferences. Click OK later.
- To go along further, click "Slide" menu and choose the "Alter Groundwork" pick.
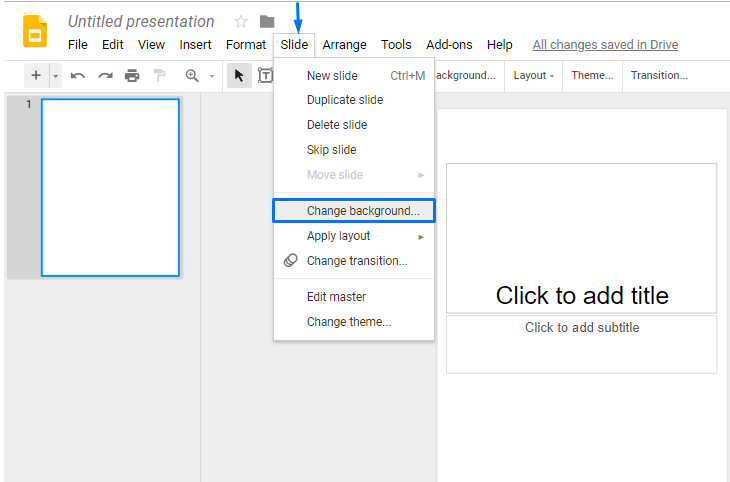
- Click "Choose" to pick upwardly the image you want to see every bit the groundwork.
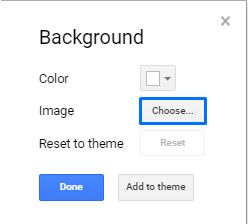
- Once the image is set upwardly, click Done.
Transparent Background in Google Slides
With the help of a transparent prototype background, you can draw attention to the subject, give a mysterious background effect, or make the document more than dynamic. You tin can create a Google Slides transparent background with just a few clicks.
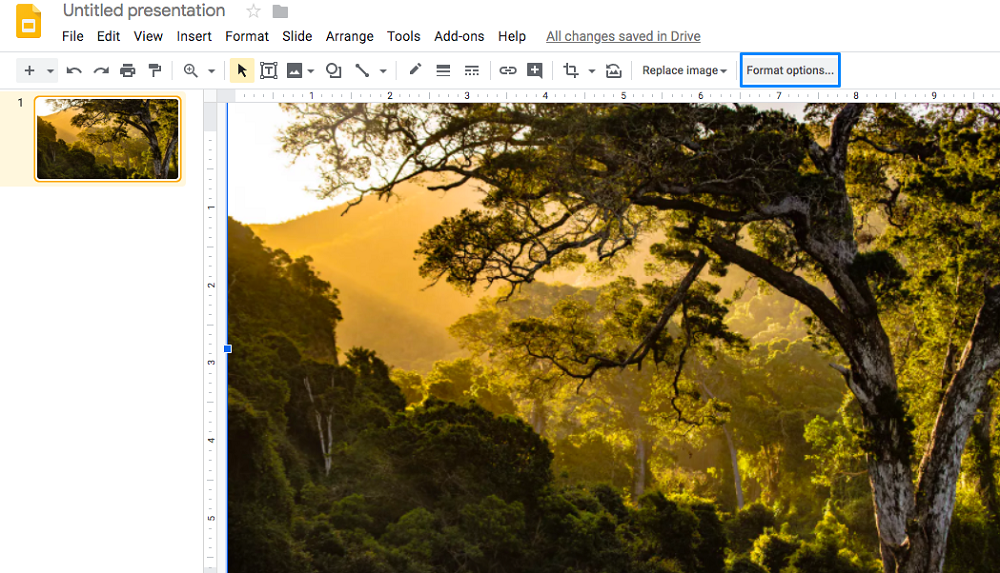
- Insert your groundwork image to the Google Slides presentation. Y'all can either elevate and drop it to the document or apply the "Insert" menu > "Image."
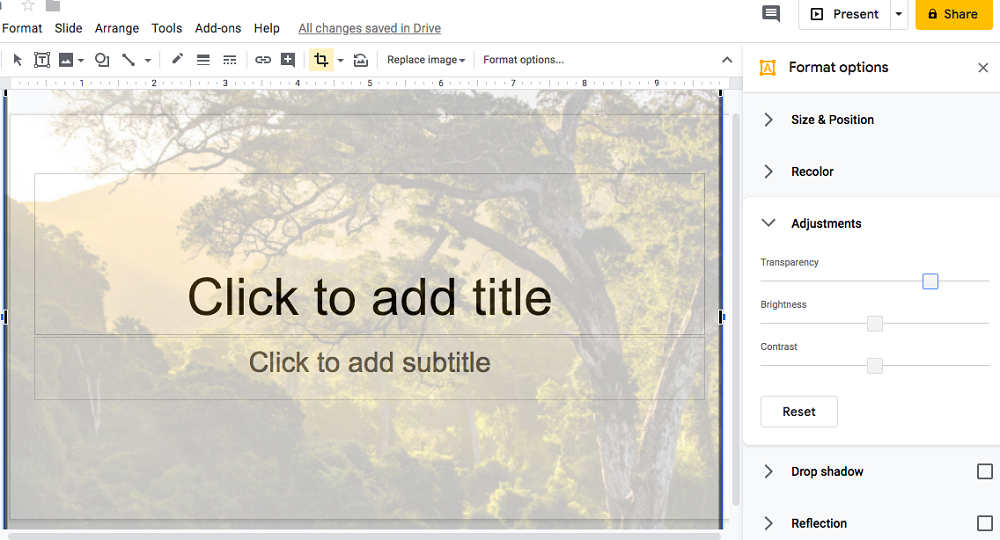
Resize the epitome to your liking. - Click "Format options" on the top toolbar.
- Proceed with the Adjustments section and locate the Transparency option. While moving the slider, choose the best transparency level.
Google Slides vs. PowerPoint
Perhaps Google Slides cannot replace Microsoft PowerPoint completely, but still, this service has slap-up potential and numerous advantages over PowerPoint. In improver, Google Slides offers the ability for users to collaborate and comment on the slides and its private objects. Moreover, Google presentations are stored in Google Bulldoze, and they are available from any place with a good internet connectedness.
General comparing
| Google Slides | PowerPoint | |
| Affordability | Information technology is free to utilise the service as a part of Google Docs. | Since PowerPoint is a part of Microsoft Office bundle, you demand to purchase a license for Microsoft Office to apply PowerPoint. |
| Accessibility | No need to install whatsoever specific software to be able to employ Google Slides. You tin access Google Slides from any modern device continued to the internet. | Microsoft Office software needs to be installed on a automobile to use PowerPoint presentations. Your slides are saved on the hard drive of your computer. OneDrive tin exist used for storage in case you need to access the presentations online. |
| Online functioning | Since it is a cloud-based service, it works only not bad if you have a potent internet connection. | PowerPoint has its online version - PowerPoint Online. The service offers fewer features than Google Slides does. |
| Teamwork | Yous are welcome to work on the slides with your colleagues - edit, comment, etc. | Your team members need to work with the latest versions of PowerPoint, and save the slides on OneDrive to exist able to collaborate. |
| Special furnishings | Google Slides offers just bones blitheness furnishings. | PowerPoint offers numerous artistic tools and furnishings. |
| Fix-fabricated templates | You can use either bones pre-made templates or search for some over the internet. | A great choice of ready templates for different topics is offered by PowerPoint. |
| Fonts | All Google fonts can be used in Google Slides. No need for any boosted software to be installed. | The service uses locally installed fonts just. If yous decide to install some custom fonts, you may encounter brandish issues. |
| Browsing | Y'all can browse anything without switching the tabs. | Yous can browse pictures with the help of Bing popup window. |
| Export | You can easily catechumen Google Slides to PowerPoint format. .pptx, .odp, .pdf, .txt, .jpg, png, .svg options are offered while exporting. | .pptx, .ppt, .odp, .potx, .pot, .pdf, .ppsx, .pps, .potm, .pptm, .ppsm for PowerPoint presentation formats; .thmx for a PowerPoint theme; .jpeg, .tiff, .png, .gif, or .bmp for an image file format. |
Premium and Gratuitous Google Slides Presentations
2020 Annual Report Google Slides
Download
Startup Pitch Deck Presentation - Google Slides Template

Download
2020 Business Ideas Google Slides
Download
MOSY - Modern and Unproblematic Google Slides

Download
Digital Marketing Google Slides
Download
STAR UP Presentation Google Slides
Download
Gratis Project Management Presentation Google Slides

Download
Free Academic Presentation - Keynote template

Download
Free Pitch Presentation - Keynote template

Download
Conclusion
Properly formatted text tin greatly facilitate the reading procedure and attract the attention of visitors to the information that is about of import. Likewise, the competent work in this direction helps to create optimum comfortable weather for acquaintance with the content. This profoundly encourages your users to read the entire text and perceive the resources about effectively.
Despite some complaints about the interface, lack of basic functions, and deficient features, Google Docs has undeniable advantages such as remote access, working with many file formats, etc. The developers accept been working difficult to simplify your work on the text within Google Slides, providing many opportunities for inventiveness.
Hopefully, this mail service has been useful for you, and now you know how to make text wrap around an prototype in Google Slides, and another handy tips.
Read Besides
thirty Free Google Slides Templates to Shine on the Presentation
PowerPoint vs. Keynote vs. Google Slides: What Presentation Software to Choose?
How to Make an Infographic with Google Slides Using a Template
How to Wrap Text in Google Slides FAQ
❓ What is Google Slides?
Google Slides is a leading presentation app by Google. Yous tin find information technology in the browser as a function of Google Docs. It's completely free! The just requirement to utilise Google Slides is to take a Google account.
❓ How to import a theme to Google Slides?
To upload the original theme to Google Slides click on the "Import Theme" push button. You can as well use the theme from the previous presentation. Then elevate-north-drop information technology into the Import Theme window from your computer, or select another file.
Once yous've selected a theme, determine the aspect ratio of your slides. For this, become to "File" → "Page Setup". More often than not, Google's standard attribute ratio is best suited for projected presentations, and wide-aspect ratios are best for presentations on a computer or widescreen Television set. As soon equally you decide on the theme and attribute ratio of your presentation, click on "OK".
❓ How to wrap text in Google Slides?
1. Once y'all decide what epitome you lot want to see on the slide, feel complimentary to add together it there. You will see it right at the eye of your slide.
2. Now you tin can alter the size and position of the text box and image to wrap text in Google Slides.

Source: https://monsterspost.com/wrap-text-google-slides/
Posted by: criglerancestright.blogspot.com
0 Response to "How To Curve Words In Google Drawing"
Post a Comment