

How To Draw Feathers On Wings
It's All Nearly Shape, Texture, Line, and Value
In this drawing lesson, we'll accept a look at rendering a plume with graphite pencils. The approach explored here tin can be applied to any discipline and many of the principles are relevant to drawing whatever discipline. Drawing a feather is an excellent do for developing your understanding of texture and how it is communicated through value and line.
Materials for This Lesson
(Some of the following links are chapter links which means nosotros earn a small commission if you purchase at no additional cost to you.)
Nosotros'll utilise three graphite pencils to develop the shape, value relationships, and texture of the feather. The pencils that you choose may vary depending on the corporeality of pressure that you lot naturally place on the surface as y'all draw. In this example, "H", "HB", and "4B" pencils are used. The "H" pencil is applied in the early on stages with a light affect. As the values are developed, the slightly darker "HB" and much darker "4B" pencils are used.

The surface texture of the newspaper volition always play a role in the texture that is produced within the drawing. Because the goal is to create shine transitions of value in this drawing, a paper with a weaker tooth is used. Smooth Bristol paper makes a suitable surface, although any drawing surface with a smoother surface volition do.
Blending stumps are also used to smooth graphite applications. Blending stumps are simply pointed sticks of compressed paper. Blending stumps let the artist to work the graphite into the tooth of the paper, creating an even distribution of the material. Since they are pointed, the artist has more than command over the resulting mark. Blending with a finger is discouraged since you have less control and the oils from your finger can produce an uneven distribution of the medium.
Drawing a Feather Step by Step
Information technology's suggested to create your drawing past looking at a feather. This may be a photograph or perhaps a plume that yous've found. Observation is important. By studying our feather visually, nosotros're provided with all of the information we need to consummate the drawing.
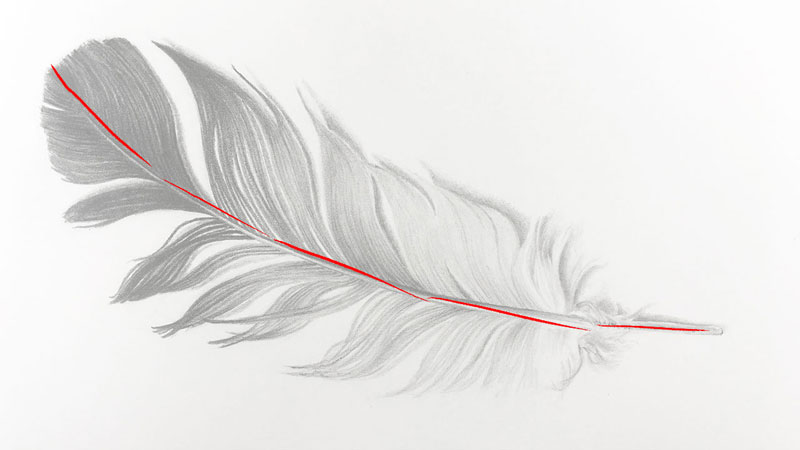
Stride 1 - Draw the Center Line of the Feather
The cartoon begins by commencement establishing a line for the center shaft of the feather which is called the "Rachis". The length and curvature of this line varies depending on the type of feather. In most all cases, this line will bend slightly.
Light, sketchy lines are used to "notice" the curvature and length of the line with the "H" pencil. It may be helpful to draw this line in segments, if yous find that it's difficult to capture the curve.
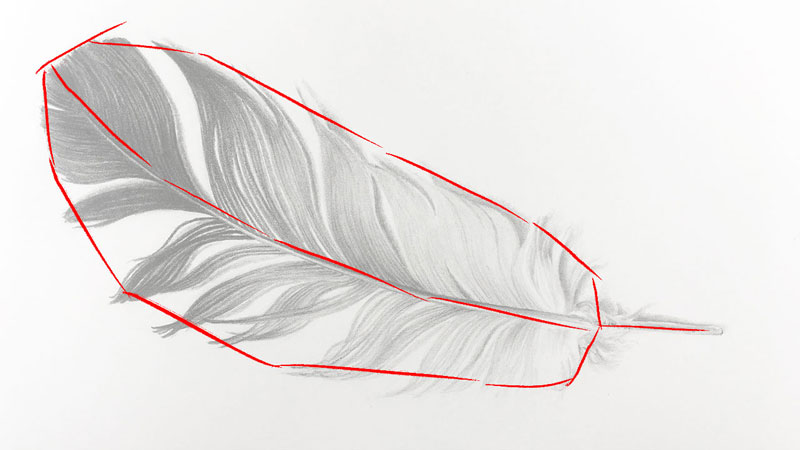
Step 2 - Draw the Outer Contour
Using this initial line as a guide and for comparison purposes, we can draw the outer contour of the feather. At this betoken, we aren't concerned with the smaller shapes that happen within the trunk of the plume. Again, light and sketchy lines are drawn to "find" this shape.
With our subject, the infinite betwixt the center line and the outer contour of the feather remains fairly constant. For some feathers, this outer contour line will be quite varied. It may taper in areas or become smaller. Each feather is different - even ones that originate from the same bird.
Once more, you may find it helpful to draw this contour line in segments. Don't allow yourself to get overwhelmed past the smaller details. We're only concerned with the larger shapes at this point.
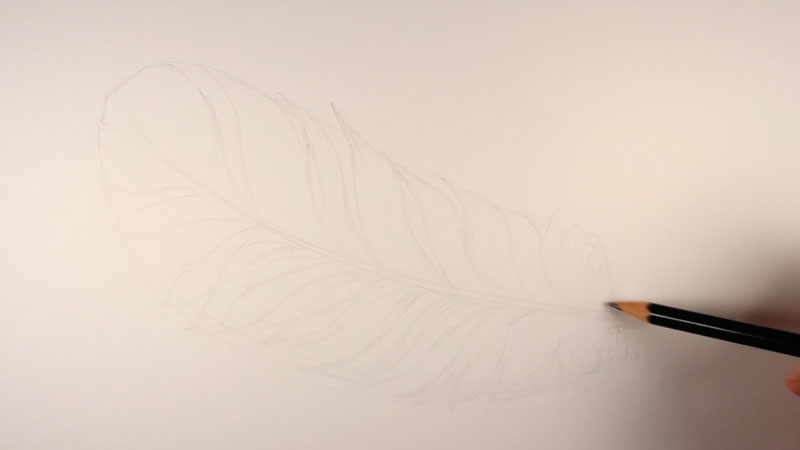
Step iii - Draw the Smaller Shapes
With the outer contour defining the shape of the feather in place, we can now focus on the smaller shapes within the body. The smaller "hairs" of the plume are called "barbs". Collections of barbs on the feather are tightly compacted in areas. Simply in other locations, they are sparse. Each shape that is formed by the tightly compacted barbs forms a shape that is similar to a flattened "s". These shapes are divers with light marks made with the "H" pencil.
It's of import to call up of these collections of barbs as a simplified shape. We'll develop the linear features of the barbs in a moment. Again, just concentrate on general shapes.
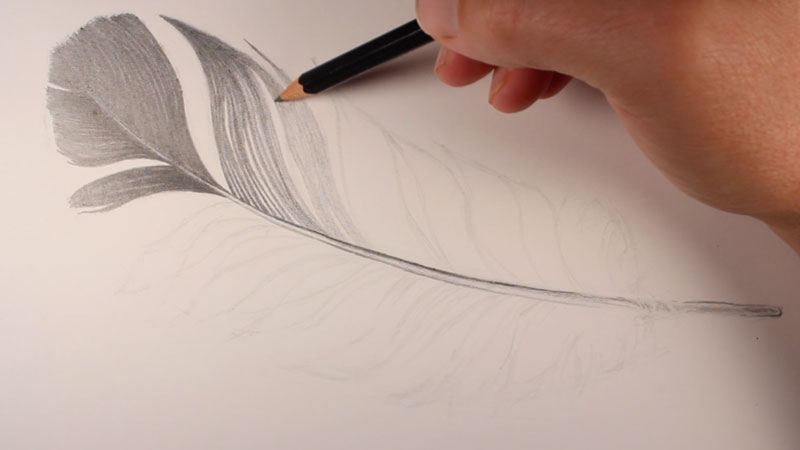
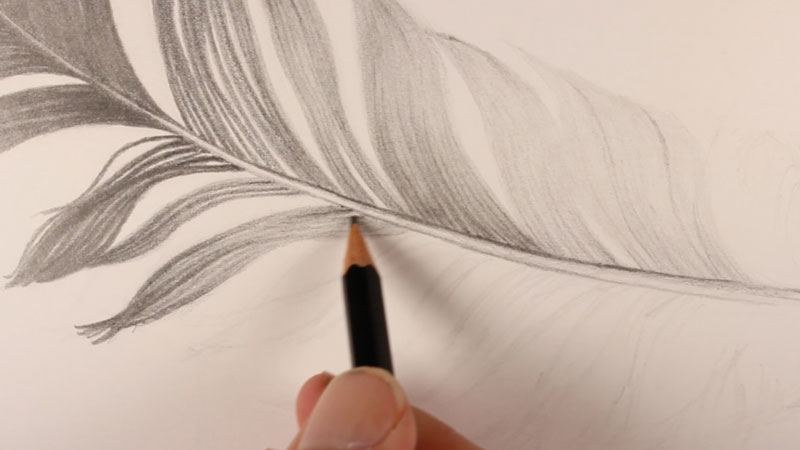
Step four - Develop the Texture While Developing the Value Range
Now that the smaller shapes within the feather are defined, nosotros can brainstorm the process of developing the value and texture within each collection. Marks are pulled outward from the rachis, extending out to the end of each shape. These directional strokes mimic the overall shape of each collection of barbs. An "HB" pencil is used initially before blending with a blending stump.
The blending stump lightens the value slightly while softening the pencil applications. The "4B" pencil is used to darken values later on blending occurs, creating darker tones and increasing the dissimilarity.
As we broaden the range of value and increase the contrast, the texture of the feather begins to sally. Visual texture is heavily dependent on two factors: the directional stroke and value. The texture is therefore developed equally we push the value range, making directional strokes with the pencil.
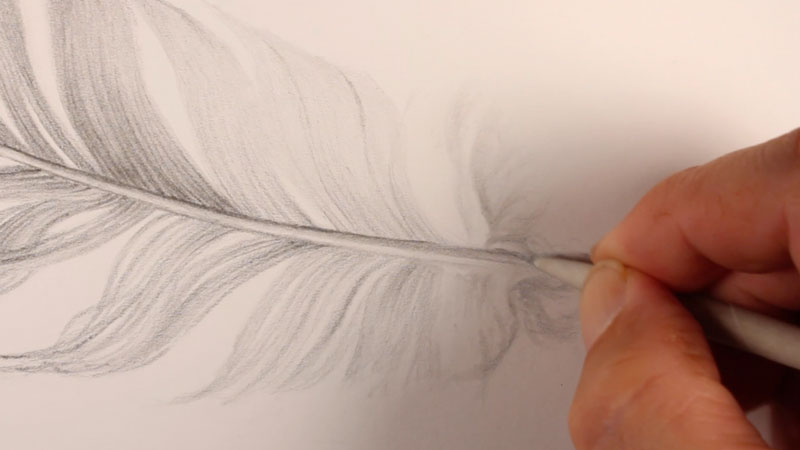
We'll continue with this process working downwards the body of the feather. In this case, the plume becomes progressively lighter in value closer to the quill (the base of the feather). For this reason, the amount of graphite and the force per unit area placed on the pencil is adjusted.
The upper portion of the feather consists of stiffer, rigid barbs, only the lower portion is made of softer, wispy ones. Additionally, the barbs on the lower portion are very calorie-free in value. To reverberate this, these barbs are defined by drawing the weak shadows around them with the "HB" pencil and softly blending with the blending stump.
This slight contrast creates the impression of the smaller and lighter barbs by using the white of the paper.
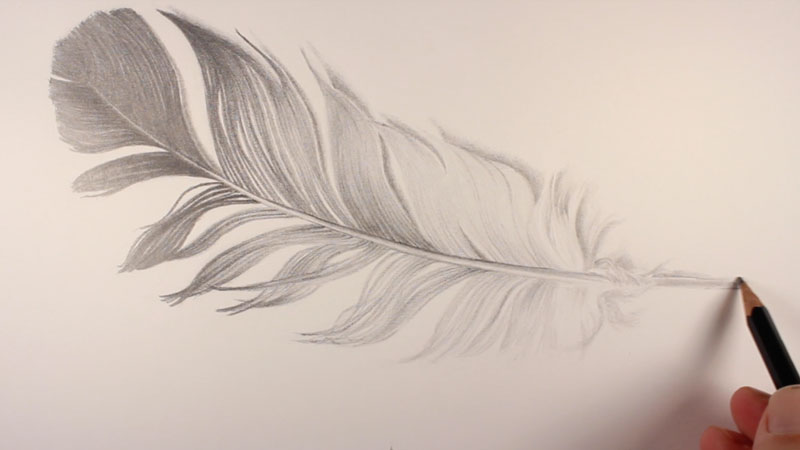
Pace 5 - Add a Cast Shadow Under the Feather
Next we'll add a flake of cast shadow on the surface, underneath and backside the plumage. An "H" pencil is used since it provides greater command of the transition of value from nighttime to low-cal. These cast shadows are darker closer to the feather but fade speedily. Since the light source originates from the lower left, these shadows mainly exist behind the feather above and to the right.
In this case, our feather doesn't rise very far off of the surface. This ways that the bandage shadow is adequately short and doesn't extend very far from the border. All the same, if you lot utilise your ain resource, you may find that your feather is more curved or the low-cal source originates from a different location. If this is the instance, then your bandage shadow may extend further and create a completely dissimilar shape. Again, it's important to pay attention to your subject and the shapes that the shadow create on the surface.
To consummate the cartoon, the shadow on the upper portion of the rachis is strengthened with a strong application of the "4B" pencil. This makes the rachis stand out and gives information technology the impression of form.
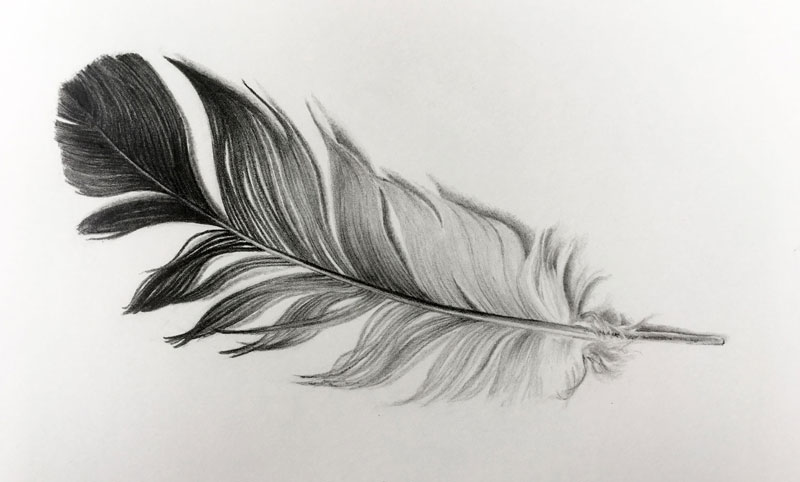
Every bit mentioned earlier, drawing a feather is a great practise for developing your skills for capturing texture. Information technology'south a unproblematic procedure - draw the rachis (shaft) with a uncomplicated line, define the shapes, and so develop the value and texture with directional strokes.

Source: https://thevirtualinstructor.com/how-to-draw-feather.html
Posted by: criglerancestright.blogspot.com
0 Response to "How To Draw Feathers On Wings"
Post a Comment